The next task you must perform is to initiate the Salesforce authentication process on the MaritzCX platform. Authentication is performed by means of OAuth 2.0.
You must be logged out of your Salesforce account in order to complete this step. If you are still logged in an error may be generated. Note also that, as you go through the process, whichever accounts you log into on both the MaritzCX side and the Salesforce side are the ones that will be linked.
Note: Clicking Connect to Salesforce will take you to the Salesforce login page. You will need to log in under the desired administrator account, then click Allow.
To perform the authentication process, take the following steps:
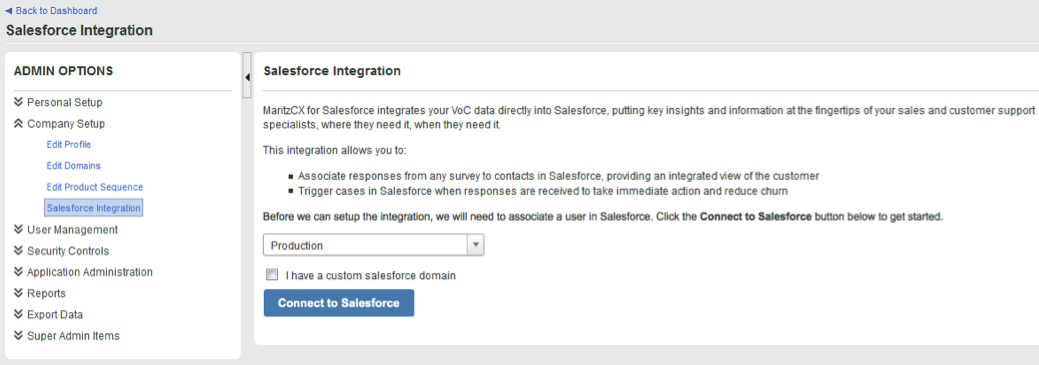
1. Go to Admin | Company Setup | Salesforce Integration.
Note the dropdown menu. It allows you to set the location of your Salesforce installation: either in your sandbox or your production environment. Select the appropriate value.
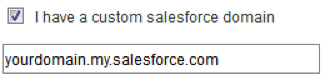
Also note the check box marked I have a custom Salesforce domain. If you check it, a text entry box appears for you to enter the domain:
Note: If you have already performed this step, the button on the Salesforce Integration page will not appear as Connect to Salesforce. Instead, it will look like this:

Clicking it will undo the link between Salesforce and the MaritzCX platform.
2. Click the button marked Connect to Salesforce. You will be prompted for your permission:
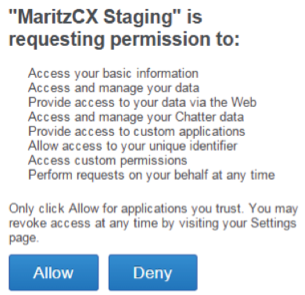
3. Click Allow. The following screen appears:
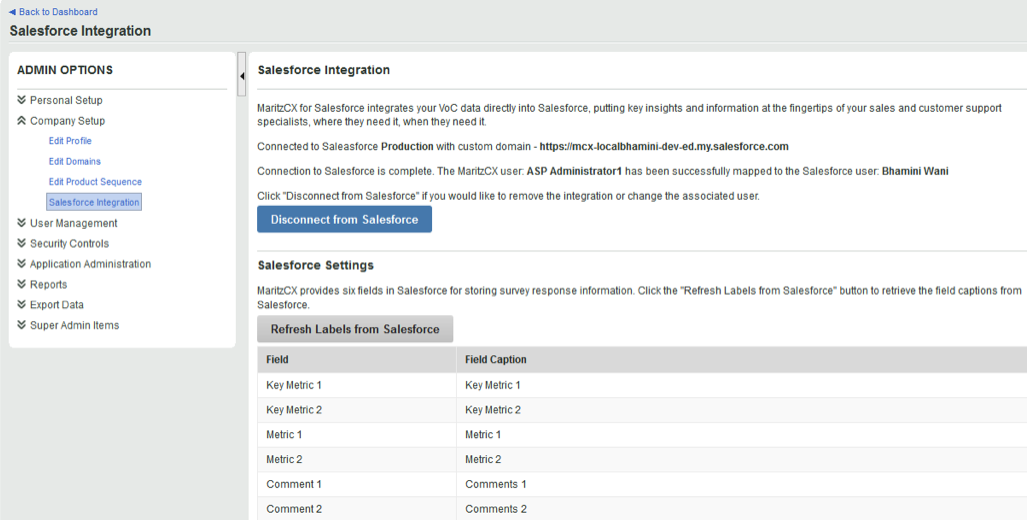
The two platforms will now be able to share user authentication data by means of OAuth 2.0.
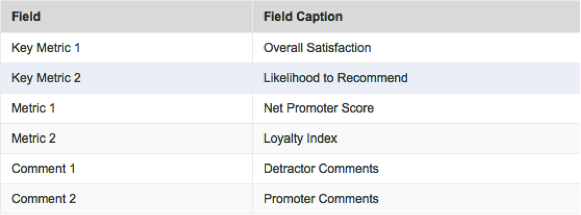
Note the button marked Refresh Labels from Salesforce. The topic Customize Response Field Labels explains how to define field captions in Salesforce to suit your business needs. Once you have done this, hitting this button will return the modified field captions, as in this screenshot:
This concludes the steps necessary within MaritzCX to integrate with Salesforce. For your users to use the integrated application, you must perform the final step - synchronizing survey and case data.