You are likely to have different text snippets that you use for invitations and reminders. The Manage Email Text screen contains a list of all the invitation and reminder text you have created and lets you perform the various tasks necessary to manage it.
It's important to create default text for each language that's defined in your survey. In addition, if you intended to send multiple reminders, you might want to create different text for each so that each can be worded more urgently than the last.
First, go to Surveys & Data Collection | Survey Hub | <desired_survey> | Manage. On the Manage Survey page, click Manage Email Text:
The Manage Email Text screen appears:
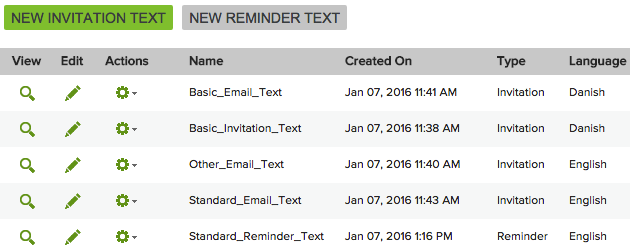
Use it to take the following actions:
New Invitation Text - Lets you define new invitation text.
New Reminder Text - Lets you define new reminder text.
View
- Clicking the View icon [ ] gives
you a preview of how the email text will appear when it is sent.
] gives
you a preview of how the email text will appear when it is sent.
Edit
- Clicking the Edit icon [ ] takes
you to the text
editing and formatting tool.
] takes
you to the text
editing and formatting tool.
Actions-
Clicking the gear icon [ ] brings up the Actions menu, which allows you to
either send a test message or delete
the text.
] brings up the Actions menu, which allows you to
either send a test message or delete
the text.
Clicking Send Test brings up the Test Email Send window.
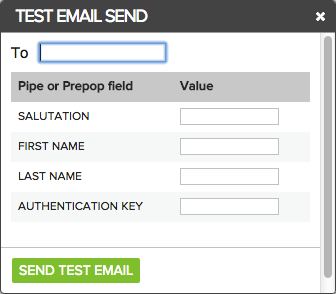
Use this to make sure that your emails will function correctly and appear the way you want them to.
In the To field, enter the email address that should receive the test.
In the Value fields for Salutation, First Name, etc., enter text to make sure that the piped text fields in your email are functioning correctly.
Click Delete to get rid of the email text. This action cannot be undone, so you will be prompted to confirm your decision.