
Once your file (either vertical or horizontal) has been created, take the following steps to load it into the system.
Step 1 - Import the File
Take the following path through the interface: Surveys | Engage7 Survey | More | Hierarchy Management
The Hierarchy Management page appears:
Click the button New Hierarchy Structure. The Import File tab appears:
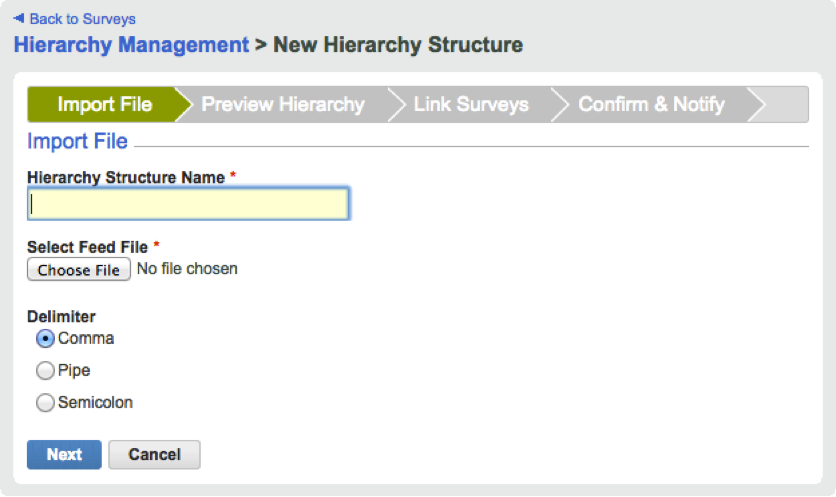
In the field marked Hierarchy Structure Name, give your hierarchy structure a name. This field is mandatory.
In the section marked Select Feed File, press the Choose File button to select your hierarchy data file.
Finally, under Delimiter, select the delimiter type used by your data file:
• Comma
• Pipe
• Semicolon
Note: At this time the vertical format only supports .csv files.
Click the Next button.
Step 2 - Preview the Hierarchies
The Preview Hierarchy page appears:
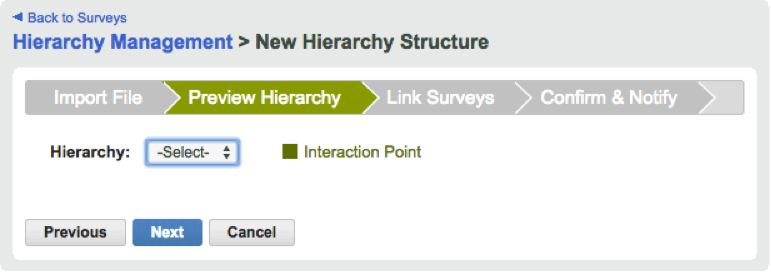
The Preview Hierarchy page allows you to see a hierarchy tree that represents the file you just uploaded into the system, then check it for errors before you proceed. Click on the dropdown menu next to Hierarchy:
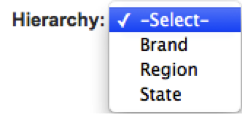
Notice that the three hierarchies it presents, Brand, Region, and State, mirror the three that were defined in Step 2 of creating the data file. Click on one of the choices to see its expanded tree:
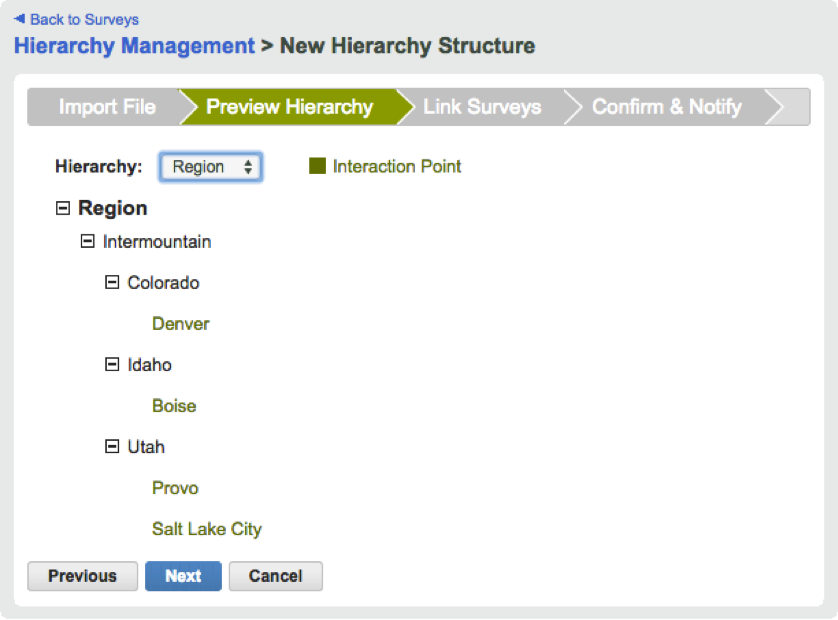
Examine the hierarchy tree for any errors. If you find any, modify your data file as necessary, then click the Previous button and re-upload your file.
Repeat this process for all hierarchies you have defined. When you have finished, click the Next button.
Step 3 - Link Surveys to the Hierarchy Structure
The Link Surveys page appears:
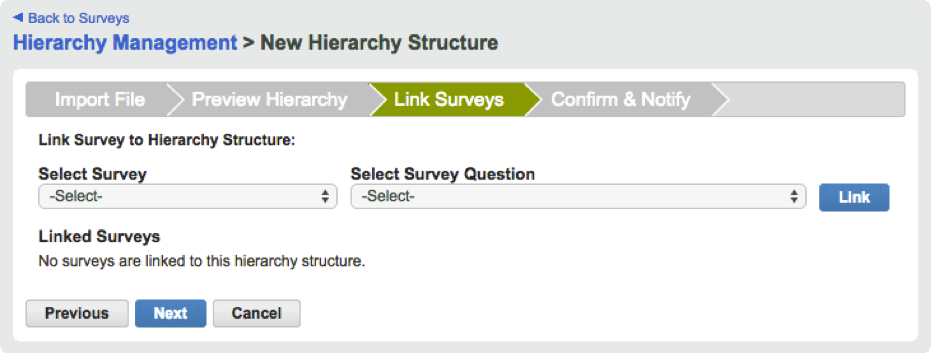
This is where you link your hierarchy to a specific survey and question within that survey. In other words, it is where you define your interaction point.
First, use the Select Survey dropdown menu to choose the survey to which you want to link your hierarchy structure. Next, use the Select Survey Question dropdown menu to choose the question within that survey that will serve as your interaction point.
Click the Link button. When your interaction point has been successfully defined, the survey name and question appear under the section Linked Surveys:

Note: The percent value on the right of the page refers to the percentage of correspondence between the interaction points in your data file and the possible answers to the survey question you chose. If this number is less than 100%, you should compare your chosen survey question to the interaction points in your file to find out where the two are out of alignment.
To examine your percent values matched summary more closely, click on the link. The Non-Matched Interaction Points window appears:
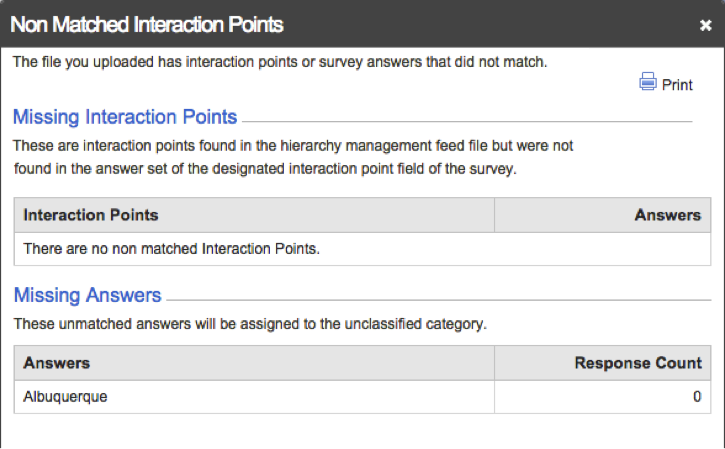
This window is informational; it lists interaction points and survey answers that are missing their corresponding data points. Click the X in the top right to return to the Link Surveys page.
If you would like to link more surveys to the hierarchy structure, repeat this step as many times as necessary.
When you are finished, click Next.
The Confirm & Notify page appears:
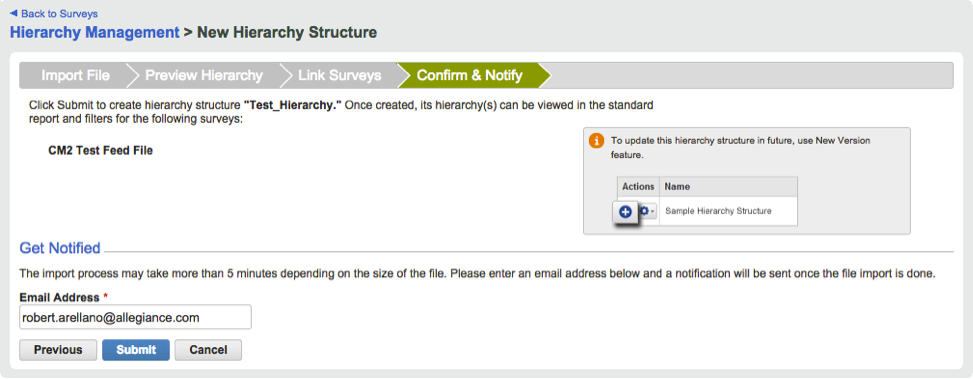
This is the final step in the process of creating your hierarchy structure.
An email will be sent when the hierarchy structure has been created. By default, the address to which it is sent belongs to the user currently logged into the MaritzCX platform. To change this to another email address, simply enter that address under Email Address.
Click Submit to complete the process. You are taken back to the Hierarchy Management page, where a table row similar to this one indicates that the request is being processed:

When the hierarchy structure has been successfully created, an email is sent and the table changes to reflect your new hierarchy:
