The next step in integration is to set up page layouts in Salesforce so that the MaritzCX data can be displayed. All page layout settings are mandatory for integration - you must set them up in order to view MaritzCX survey data on the Case Detail, Contact Detail, and Account Detail pages.
There are three options for creating page layouts:
1. Use your company's existing page layout and add the MaritzCX package’s components to it as required. The process for this is described in the section Custom Page Layout.
2. Use the page layouts provided in the MaritzCX package and add other components which are not part of the package. The process for this is described in the section Custom Page Layout.
3. Use the page layouts provided in the package without modifications. Depending on whether you need to do this for the Case, Contact, or Account pages, go to the appropriate section.
First we will discuss adding MaritzCX survey data to your company's custom page layouts, then move on to configuring the MaritzCX page layouts to display correctly.
It is possible to integrate MaritzCX survey data into your company's custom page layouts. You can do this for the Case Detail, Contact Detail, and Account Detail pages - the process is essentially the same for all three.
So, for example, to change your company's custom Account Detail page, follow these steps:
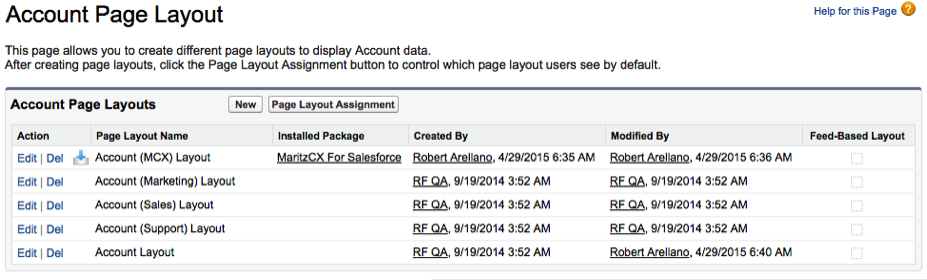
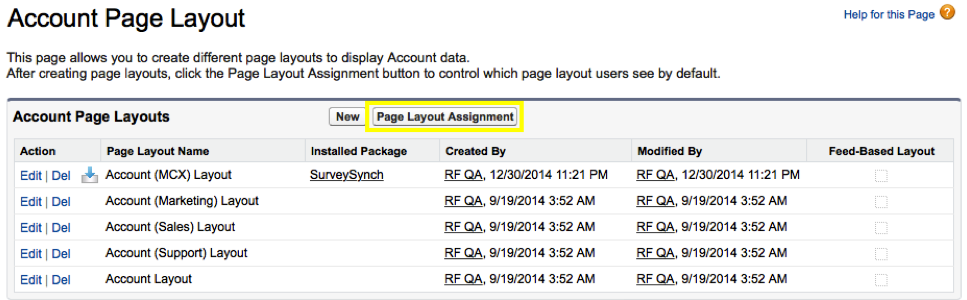
1. Go to Setup | Build | Customize | Accounts | Page Layouts. The Account Page Layout page appears:
2. Click on the Edit link next to the layout you want to modify. The selected custom page layout page appears:
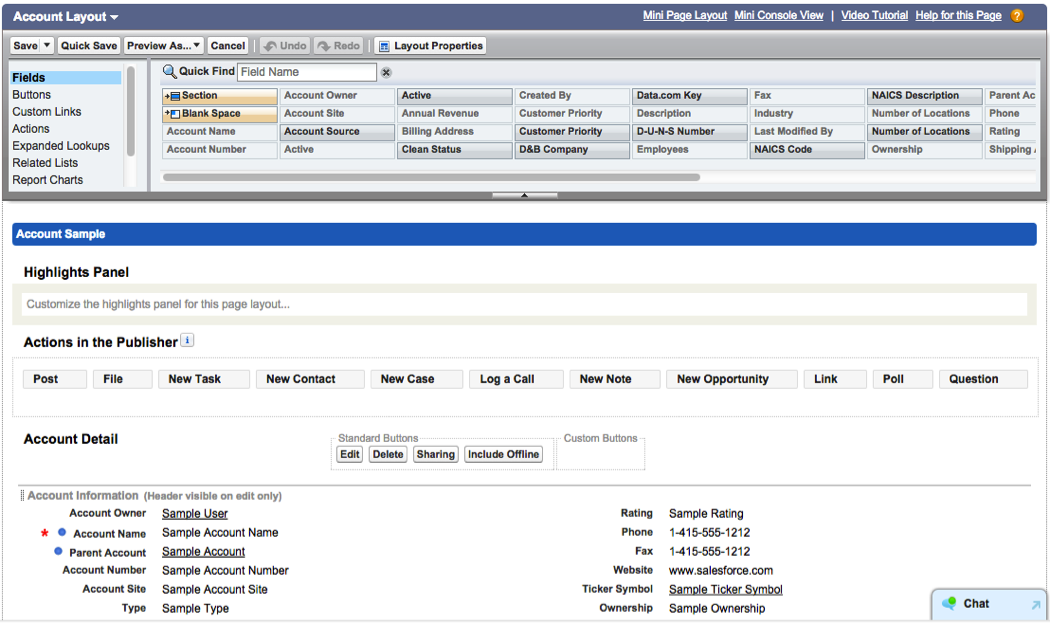
3. Scroll down the page to find the place where you want to add the element.
4. From the window at the top, select the element type you want to add to the page and click on it:
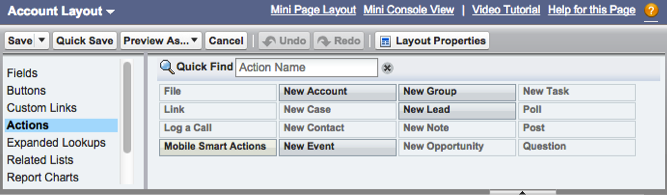
5. Select the element you want to add and then drag and drop it to the desired location.
6. Repeat for as many elements as you need to add to the page, then click Save. Your new page layout is available for use.
Note: If you have added an inline Visualforce page, you must specify its height as discussed below, or it will not display correctly.
On the Layout page, go to the section where you have added the Visualforce page. After hovering over the page as shown below, a wrench icon appears in the top right corner of the page. Click on it.
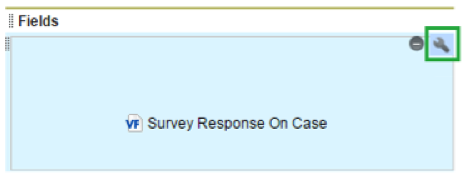
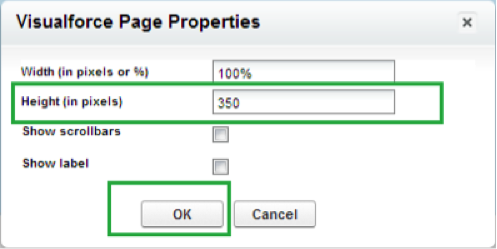
In the Visualforce Page Properties window, set the Height as specified in the table below.
| Object | Tab | Page Height |
Contact |
Visualizations |
350 |
Contact (Mobile enabled) |
VisualizationsMobile |
460 |
Account |
VisualizationOnAccount |
360 |
Account (Mobile enabled) |
VisualizationOnAccountMobile |
460 |
Cases |
SurveyResponseOnCase |
150 |
Survey |
SurveyQuestionOnSurvey |
220 |
Note: Visualforce pages enabled for mobile should be added to the Mobile Cards (Salesforce1 only) section on the Page Layout.
Click OK when you are done. Finally, click Save in the main window.

Your Visualforce pages will now display correctly. For more information on this topic, see the following page:
https://help.salesforce.com/HTViewHelpDoc?id=accessing_layout_standard.htm&language=en_US
In order for your users to be able to view MaritzCX responses on cases, you must first set up the Case page layout. Follow these steps to do so:
1. Go to Setup | Build | Customize | Cases | Page Layouts. The Case Page Layout page appears:
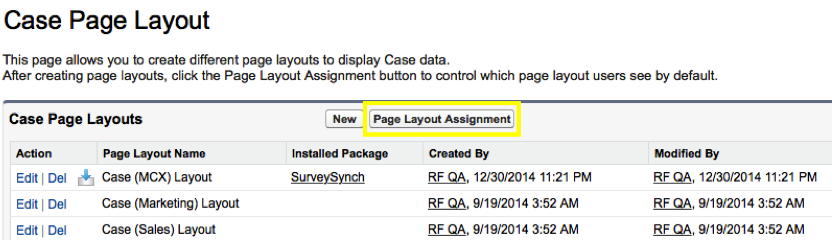
2. Next, click on the Page Layout Assignment button. The Case page appears:
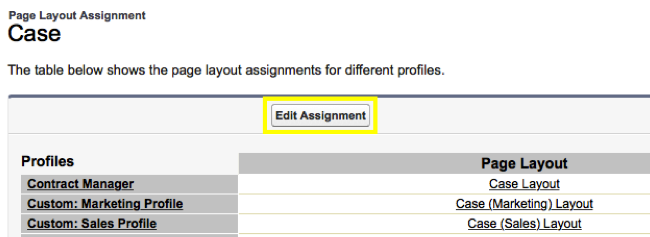
3. Click on the Edit Assignment button. A dropdown menu marked Page Layout to Use appears:
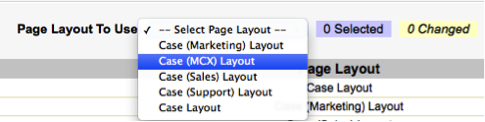
4. Decide which user profiles you want to have access to the MaritzCX data, then select their table rows.
5. Select “Case (MCX) Layout” from the dropdown menu.
6. Hit Save.
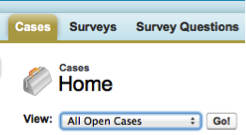
After you have completed the steps above, you can go to the Case Detail page to see the MaritzCX survey data there. To do so, click on the Cases tab, select "All Open Cases" from the dropdown menu, then hit the Go! button.
Click on the link of one of the cases in the table. The Case Detail page will now have a section called MaritzCX Survey Responses, as shown in this screenshot :

Note: The highlighted section will contain this data only after it is pushed from MaritzCX into Salesforce. This process is described in the section Synchronizing Survey and Case Data.
1. Go to Setup | Build | Customize | Contacts | Page Layouts.
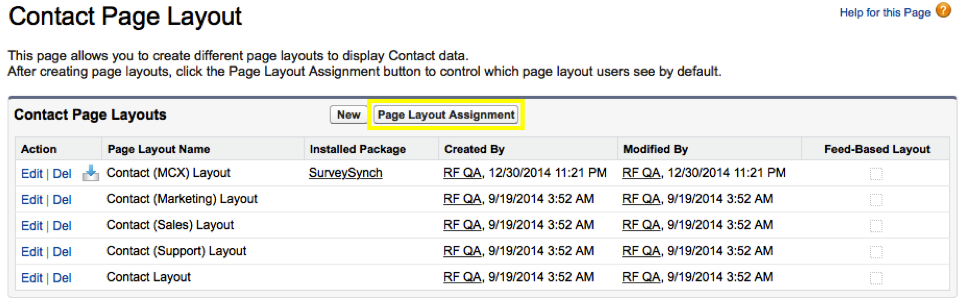
2. Next, click on the Page Layout Assignment button. The Contact page appears:
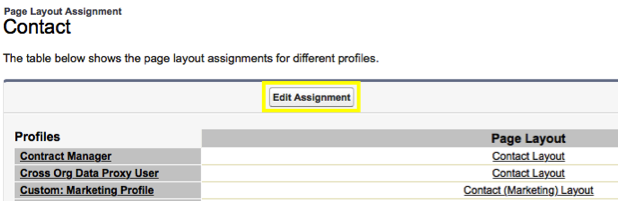
3. Click on the Edit Assignment button. A dropdown menu marked Page Layout to Use appears:
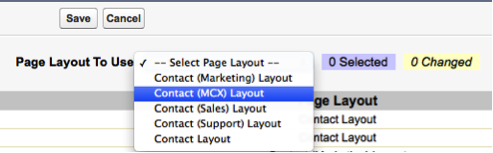
4. Decide which user profiles you want to have access to the MaritzCX data, then select their table rows.
5. Select “Contact (MCX) Layout” from the dropdown menu.
6. Hit Save.
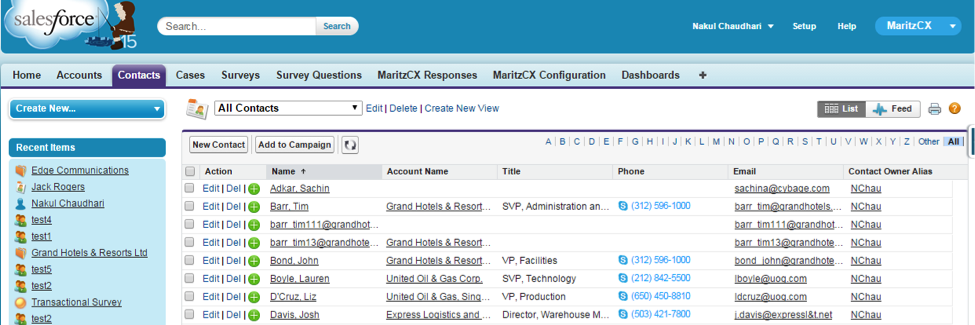
After you have completed the steps above, you can go to the Contact Detail page to see the MaritzCX survey data there. To do so, click on the Contacts tab, select "All Contacts" from the dropdown menu, then hit the Go! button. Click on one of the contacts in the table.
To see how your settings display in the user interface, click on the Contacts tab. From the View dropdown menu, select "All Contacts" and press Go!
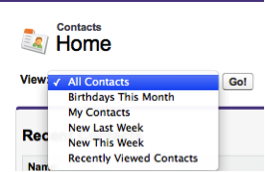
A list of contacts appears:
Click on one of the contacts in the table. The Contact Detail page will have two new sections called Charts and MaritzCX Responses, as illustrated in this screenshot :
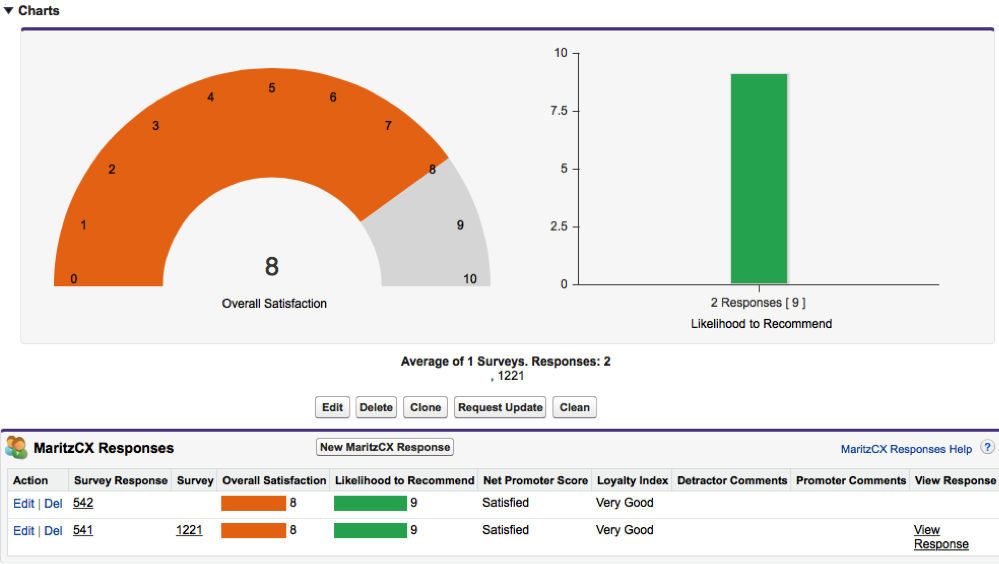
Note: The highlighted section will contain this data only after it is pushed from MaritzCX into Salesforce. This process is described in the section Synchronizing Survey and Case Data.
Setting up the Account page layout is similar to setting up the Contact page layout. Follow these steps to do so.
1. Go to Setup | Build | Customize | Accounts | Page Layouts. The Account Page Layout page appears:
2. Next, click on the Page Layout Assignment button. The Account page appears:

3. Click on the Edit Assignment button. A dropdown menu marked Page Layout to Use appears:
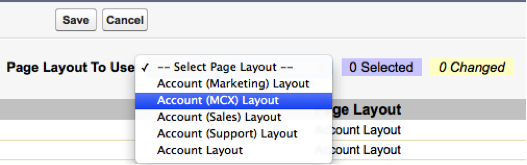
4. Decide which user profiles you want to have access to the MaritzCX data, then select their rows in the table.
5. Select “Account (MCX) Layout” from the dropdown menu.
6. Hit Save.
After you have completed the steps above, you can go to the Account Detail page to see the MaritzCX survey data there. To do so, click on the Accounts tab, select "All Accounts" from the dropdown menu, then hit the Go! button. Click on one of the accounts in the table.
As with Case and Contact, the Account Detail page will have two sections called Charts and Survey Responses.