Mobile devices obviously offer a more constrained display than desktop or laptop systems. It is possible to configure the Inbox differently for these devices so that it works better for your mobile users.
Step 1
Click on the action menu on the top right and select Mobile Inbox Configuration:
Step 2
The Configure Mobile Inbox screen appears:
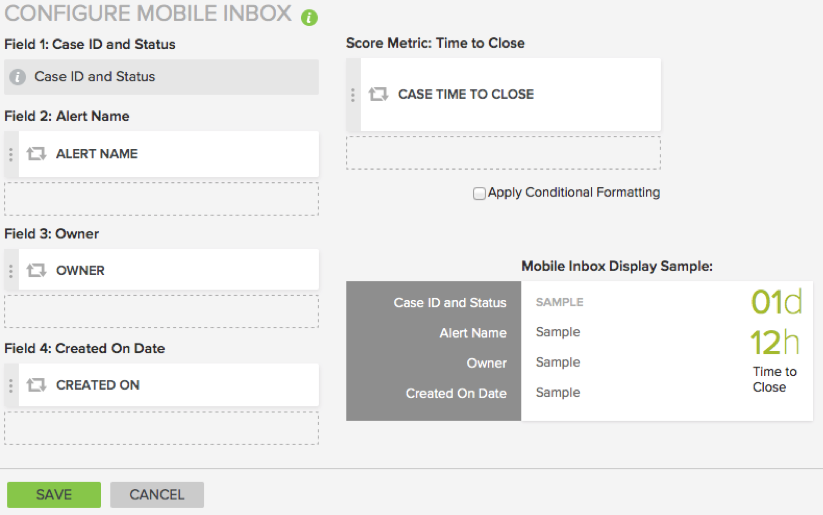
Note that it contains five fields. The first one is pre-defined and cannot be changed, showing Case ID and Status. Fields 2-5 contain default values, but are modifiable to allow you to insert data references from your source survey or case management program.
The graphical mockup on the right gives you an idea of how the fields will actually display on your users' mobile devices. If these fields and layout are acceptable, simply hit the Save button and you are finished. If not, proceed through the remaining steps.
Step 3
Follow the instructions in this step to switch out the data references in fields 2-5.
First, mouse over the field you wish to remove. An X appears on its right side, as in this screenshot:
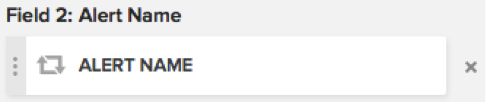
Click on the X to remove it.
Next, using the same procedure as you did for the regular inbox, add data elements as desired. Remove and add as many data elements as necessary.
Note: The checkbox marked Apply Conditional Formatting affects how your metric (e.g. Time to Respond) will display in the mobile inbox. If you check it, the numbers will display in different colors based on the percentage of time that has elapsed out of the total: green when the case time remaining is more than two thirds away from the goal, yellow when it is less than one third away from the goal, and red if the goal has been exceeded.
Step 4
You may want to give your data references different names than their default ones. Follow the instructions in this step to rename them.
Double-click on the name of the reference you wish to change. The name field turns into an editable text box:

Change it as desired, then click on the circular arrow icon to register that change. Alter as many of the field names as you need to.
When you are finished, hit the Save button. The following message appears at the top of your browser window:
